 |
| Click any image to see it larger |
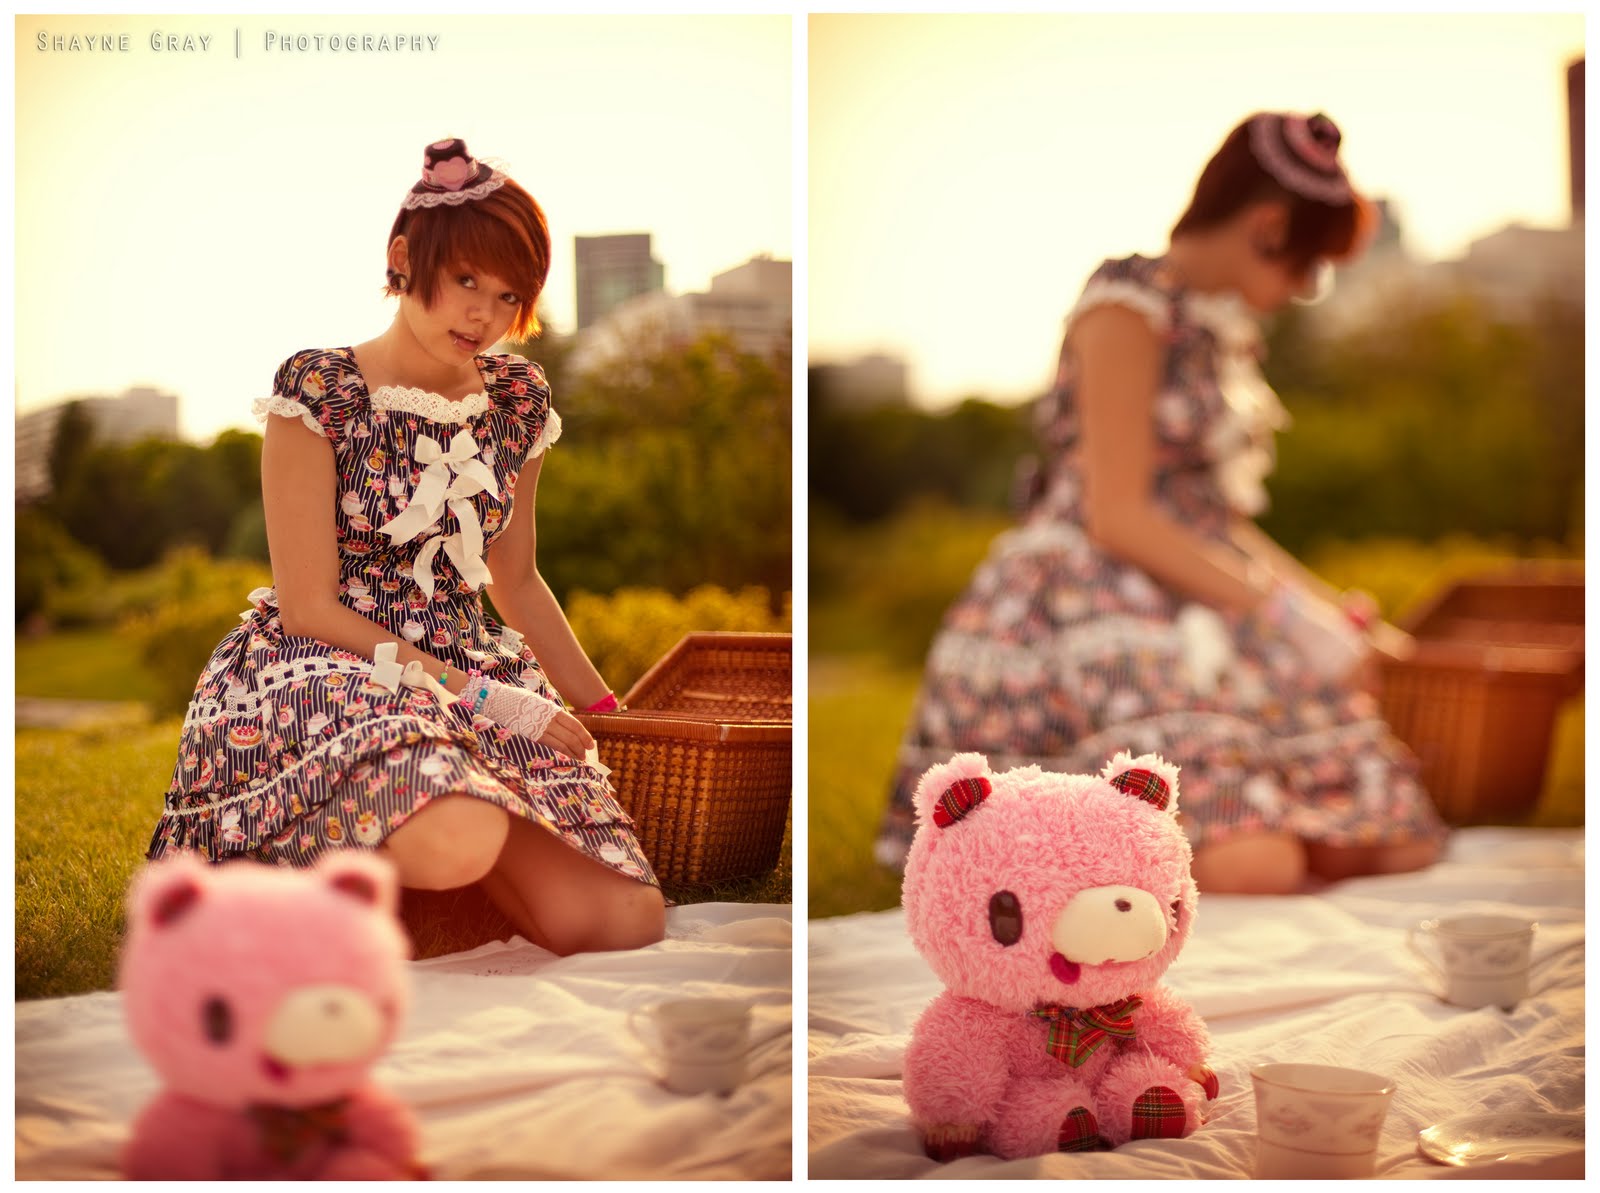
And what a perfect day to pull out the brand new 5D Mark II
And just in case your images don't come off the camera warm enough at a custom white balance of 10,000K, try putting an extra photoshop layer of solid yellow on top at 7-10% opacity. Another cool trick is to create a vintage effect with some light leaks. To experiment with this a little, add a new layer over top of your image and set the blending mode to "linear dodge" Then select a warm red from the colour picker that you're happy with, a nice big, soft paint brush and start painting! Then simply reduce the opacity to taste. For more on vintage effects (including vignettes, cross-processing and lomo effects), see this post.


It's somehow hard now not to hear Zack Arias' voice, "eyes to the light!" since his recent workshop at CreativeLive.


Cristy comes to almost every creative project and helps out a ton! To keep things portable, I don't travel with a boom (not to mention that they can get quite expensive). Cristy comes to help with the lights, creative ideas and often plays the role of the boom stand among other things.
For the last two shots above I thought I'd try something a little different. I recently stumbled on the really great work of BJ + Richeille Formento and thought that some of their images were likely composites. And even if it takes a while to get that level of photography, I thought I'd try out a similar sinister-looking mood with a similar scene lit in closer, but without showing the light source in a wider shot.
Here are the two images used to make the first composite:
 |
| 1st of 2 images used with Cristy booming the umbrella |
 |
| Empty frame to use for masking in our lit subject later in post |
 |
| Without being boomed, the bottom of the lightstand is in the pool of light on the ground making masking very difficult later on in post |
We also tried to light the scene with the umbrella on the stand by itself on the ground, but...as you can see from the photo on the right, the light spill on the ground surrounds the light stand, which would make masking a lot more difficult. So a huge thank you to Cristy for booming the umbrella the entire time.
 |
| Cristy booming the umbrella to get the base of the lightstand out of the pool of light on the ground |
So much fun....

And finally, thank you to hongkiat.com, webdesignews.com, Jack Chen and 20ju.com for re-posting my Levitation/Textures and Matrix posts this week!
3 comments:
Nice, I learn something new every week :D Now, I kinda look forward to your post every week :D
Omg - love this shoot!
Her styling is so adorable - and I cannot believe you just a found a picnik basket last minute! It works so perfectly!!
Love the summer warm processing on the first images - but my fav image is of standing in the music garden arch, with the pool of light surrounding her and the bear looking out - awesome!
Great post!
Thanks for providing the process!
Jude
Post a Comment