 |
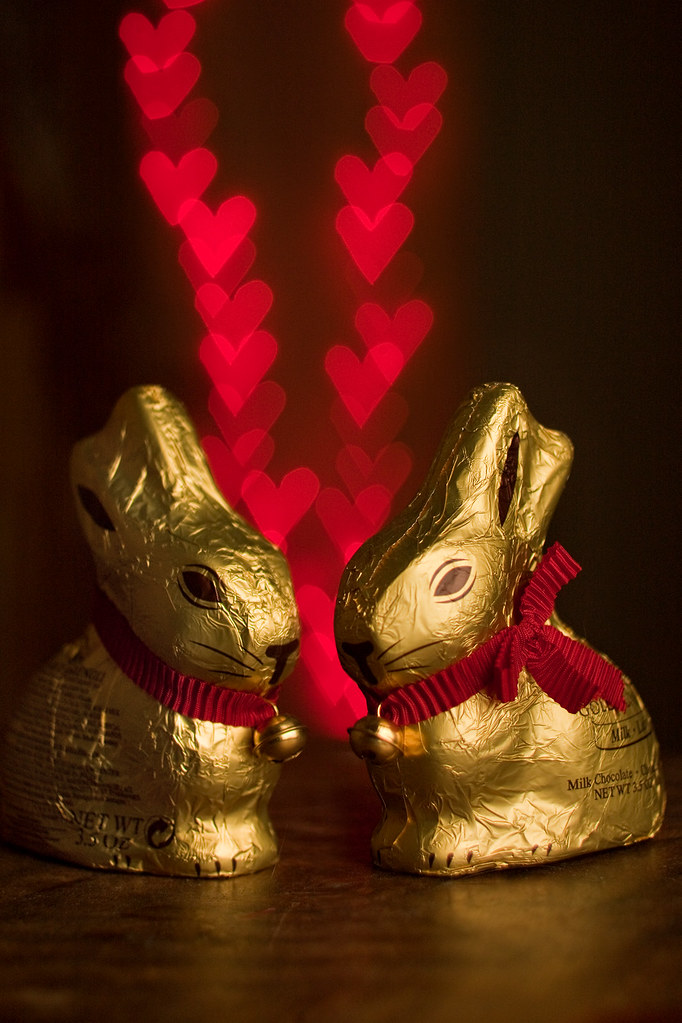
| Happy Eastertine's Day! Setup shot at the bottom of this post. |
Here's how it's done. First the easy way - go ahead and order the online kit here or here. If that's not for you, here's how to do it yourself.
There are lots of places where you can find these kinds of tutorials, but many of them use a special lens hood, which you have to fashion and then...store somewhere when you're not using it (which will likely be most of the time). If you have a UV filter, you can use it instead.
What you need:
 |
| Canon 50mm 1.4 |
- a UV filter that fits the thread size of your lens
- cardboard/cardstock or dark, heavier construction paper (I used my girlfriend's cereal box - see below)
- scissors
- exacto knife or precision craft knife
- pencil
What not to do:
It took some time to figure out how I was going to get the piece of cardboard to fit exactly into my 58mm thead without using a compass to draw a perfect circle.
Try this instead:
Get some cardboard from your girlfriend's cereal box like this:
Then put it back on top of the fridge like this so she doesn't notice you've used her still-full box (there just weren't any empties lying around):
In the end I put the filter threaded-side down on the piece of cardboard, grabbed the exacto knife and cut around the thread being careful not to damage the actual filter. This is better than tracing with a pencil because the pencil doesn't get right in there like the knife does and I found the circle to be an absolutely perfect fit. No calculations...no fuss...no muss....
The next thing is to figure out the size of your aperture. The shape that you're cutting out is actually re-shaping the aperture - you can see a 5-blade aperture at work because because of the pentagon shape it produces when a light is out of focus. If you look below you can see my lens' 8-blade aperture at work. The trick is to make sure that your shape is within the diameter of your aperture blades.
To calculate this, take the focal length of your lens, which in my case is 50mm. I can use it as wide as f1.4, but I'll probably want to leave myself some room and calculate for f2 (also a much easier calculation). Think of f2 as 1/2 your focal lenght - 1/2 of 50mm = 25mm (or 50mm ÷ f2 = 25mm). If you have an 85mm lens for example, it's the same calculation - 1/2 of 85mm = 42.5mm and so on.
Now draw that 25mm field onto your cardboard circle. I drew a square, but really it should be a circle - I just made sure to stay well within the corners.
Make your edges as smooth as you can - I broke off the first digit of the knife to make sure it was as sharp as possible. Any stray fibres will be noticeable later. Maybe even wet your finger and go around the edges to get them nice 'n clean.
Now put your new bokeh filter into the thread of the lens and screw in your UV filter.
Next step: go and try it out hey!
 |
| Christmas lights without heart-shaped bokeh filter |
 |
| With heart-shaped bokeh filter (and Christmas lights!) |
Integrating your bokeh shapes into a picture:
I set up some red Christmas lights, which makes a good colour for hearts, of course. The object is to have them at a reasonable distance in the background. If you don't have any Christmas lights immediately available, wait until night time and then go outside and use the street lights and traffic lights instead.
Make sure the distance between you and your subject is much smaller than the distance between your subject and the blurred lights:
Here's the setup shot:
Setup for the picture at the top of this post:
 |
| Setup shot for "Happy Eastertine's Day!" |
Red xmas lights 11 1/2 ft from delicious model bunny.
I only had one bunny though unfortunately, so the final image is a composite of two to give our bunny a partner (before he gets gobbled up!).
And if you want to get really creative and take it a couple of steps further, try spelling out some words with your custom bokeh shapes (and make sure to watch the music video!).
www.diyphotography.net/ is an amazing site. Check out their posts on custom bokeh shapes here and here.
And for a little more on the subject, visit http://www.youtube.com/watch?
Good luck, have fun and as always...send me your results.
Happy Easter!


2 comments:
hahaha. nice one shayne. :) follow me back.
cool tutorial really. :)
thanks glenn - some really interesting macro and portraiture on your blog!
Post a Comment