 |
| The amazingly beautiful Cristy |
 |
| Even more Cristy |
Honl Gel System and a super easy DIY Speedstrap:
I'd never used gels before a few days ago! There are still so many things that are new that I have yet to get to. Slowly...step by step I'm getting to as much as I can.
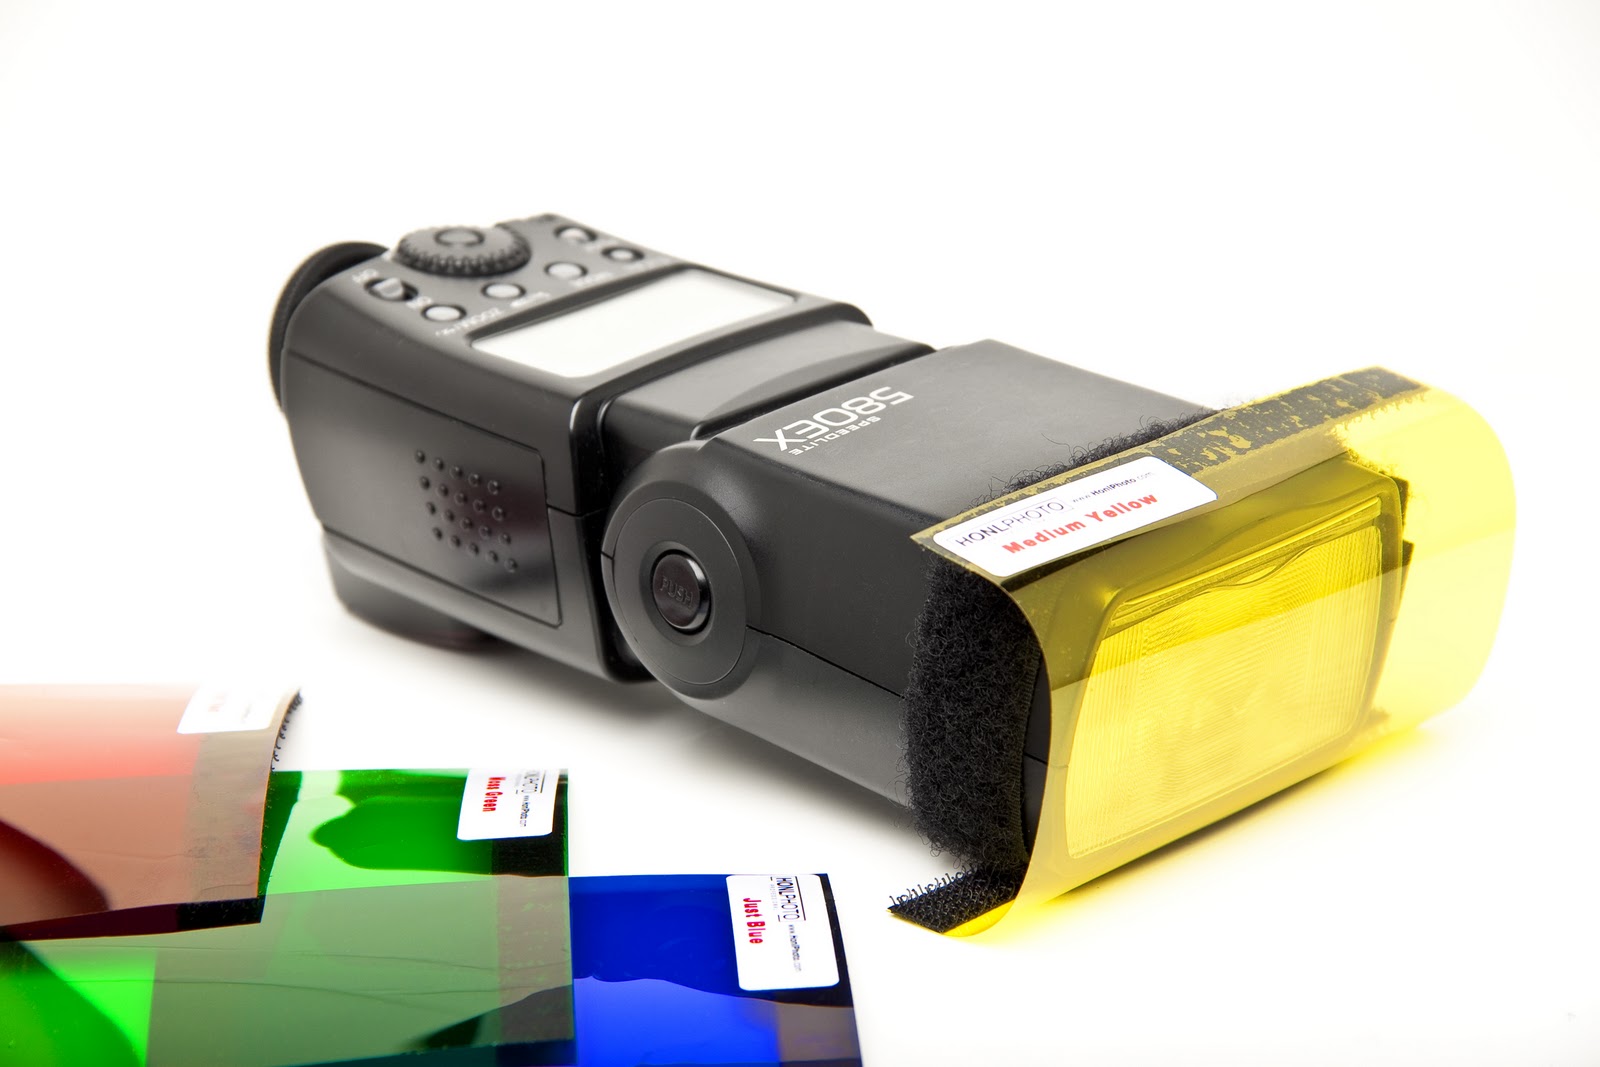
I got a really great Honl gel pack
 |
| My DIY Speedstrap for Honl products - click the picture to see it larger |
The gels have two strips of velcro on two edges, which is a great solution to what looks to be an age old problem. There are other solutions such as this or even this, but honestly...I'm quite happy with the Honl system. In the end I was kind of glad she didn't get the speedstrap. It's only $11.99
 |
| My DIY Speedstrap on my Canon 580 EX |
While doing my (very last minute) Christmas running around I passed a fabric store and thought I'd just take a look. 35 cents later I walked out with my speedstrap - I just needed to put it together! I can sew by the way...just not very well. I take very good care of my things - still, that strap is bulletproof and super solidly sewn together. I went over it about 20 times - just be sure to leave a little extra at the end as a tab so you can unfasten it easily when you're using it. Take a look at the picture directly above and you'll see what I mean.
 |
| My DIY Speedstrap in action with Honl Gels |
I used two speedlights on either side - I only have one softbox though, so I used an umbrella on the other side. To photograph the speedstrap in action on the speedlight though, I only had one more light left (since I couldn't use the one in the picture). Luckily Cristy just bought herself a pair of boots, which came in a nice white box.
 |
| f/8, 1/250sec, ISO 100 - Speedlight through softbox 90° right at 1/4 power, speedlight through umbrella 90° right at 1/4 power |
 |
| f/8, 1/250sec, ISO 100 - Speedlight through softbox held directly above to get the shots above |
Converting your Kitchen into a Studio:
 |
| Our kitchen (complete with "Cat Conundrum" paintings on the left by Cristy!) |
The first thing I wanted to try was getting the walls white, and with one bare speedlight 3 or 4 feet from the wall zoomed out directly behind our model, that was no problem - even at 1/4 power.


I had actually planned on using a zoom, but my 50mm f/1.4
 One thing I noticed, that makes sense, is that once the gel goes on to colour the background, if the wall (or whatever background) is too overexposed, the colours don't show as well. If and when that happens, it seems easy enough to power down the speedlight a little to expose for the coloured wall.
 Light fall-off


And finally - one small piece of advice: watch for the model snatching the camera out of your hands and turning it back at you or else you wind up with something like this:
 |
| This is what can happen when the model grabs the camera away from you |
An interesting resource I've been checking out lately for portraiture is http://www.studiolighting.net/category/photography-video-tutorials/ with Mark Wallace. There's a whole series of video tutorials to take you through various lighting setups, ratios, metering, etc. Worth checking out.
So...what kind of portraits do you do and how do YOU go about it all?
0 comments:
Post a Comment